

How To Reduce Wind Noise In Premiere Pro
How to Remove Background Noise in Premiere Pro: Step past Stride Guide
The nemesis of people working with audio is noise. It comes in many different shapes and forms: air current, traffic, and other unwanted background racket if nosotros're filming exterior. If we're inside, it could be air-conditioning, fans, room reverb, and low frequencies noises from home appliances like fridges and crackling doors.
At that place are plenty of reasons why noise tin can be in our recording, just once it's there, there'southward nothing we tin do but try to mitigate it. It'southward impossible to eliminate dissonance completely, but you can reduce it considerably with powerful racket reduction plugins and all the same obtain professional results.
Our laptops and smartphones don't have professional person congenital-in microphones, and nosotros have to use external mics if we want to get skilful audio quality.
Often, these microphones tend to exist more than sensitive and choice up more than background noise: this is especially true when information technology comes to omnidirectional condenser microphones.
Today's article will show how to remove background noise with Adobe Premiere Pro, even if you recorded it with a bad-quality microphone.
Peradventure you're unaware of it, simply Adobe Premiere Pro has an audio editing feature that works incredibly well, nigh like having Audience inside Adobe Premiere Pro! So yous tin can do the whole sound-editing process without changing apps.
But go along in listen that dissonance is like dust; it has a way of slipping through your audio even though y'all effort to cover any sound source.
If you have multiple audio clips with dissonance, you'll take to echo these steps for each i of them. Just don't worry: I'll explain how to remove groundwork noise in Premiere Pro without going through the process multiple times simply by creating presets.
There are different ways yous tin can remove background dissonance with Premiere Pro, and we'll see each one then y'all'll know how to approach every blazon of audio.
How to Remove Background Noise in Premiere Pro with the DeNoise Event
We'll kickoff with the denoiser effect, an easy tool you tin can use for your videos and keep in mind every time y'all tape sound.
-
Stride 1. Open Your Project
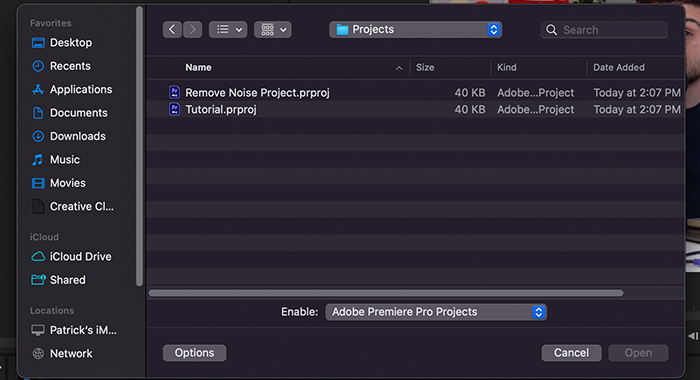
The starting time step is to open your project on Premiere Pro. If y'all have several clips you lot want to edit, choose the beginning one.
-
Pace 2. Adding Effects

Go to your effects window, or actuate it on Window > Effects and search for "DeNoise" or follow the path Audio Effects > Noise Reduction/Restoration > DeNoise. To add together the denoiser upshot, drag and drop it to your audio clip.
-
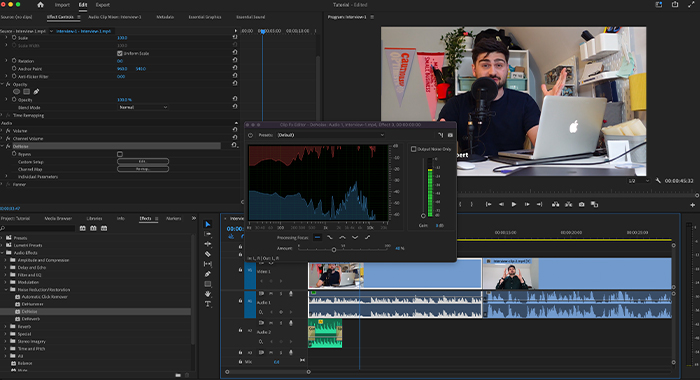
Pace three. Effects Control Panel
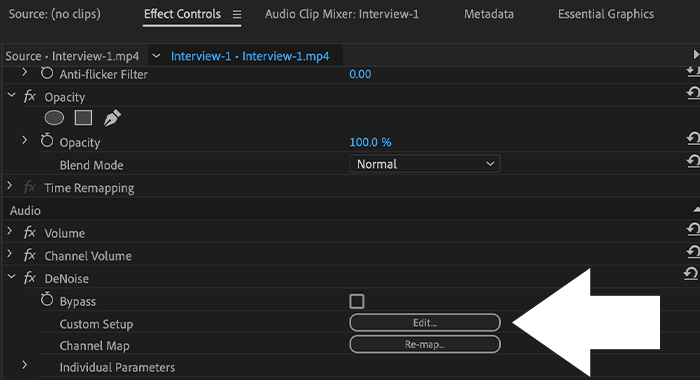
At present nosotros'll go to our Issue Control panel to find our DeNoise upshot, then click Edit. That will prompt a new window where we can adapt audio frequencies.
You can leave the default preset or attempt the ones Premiere Pro suggests. I'll explain how to create your own at the end.
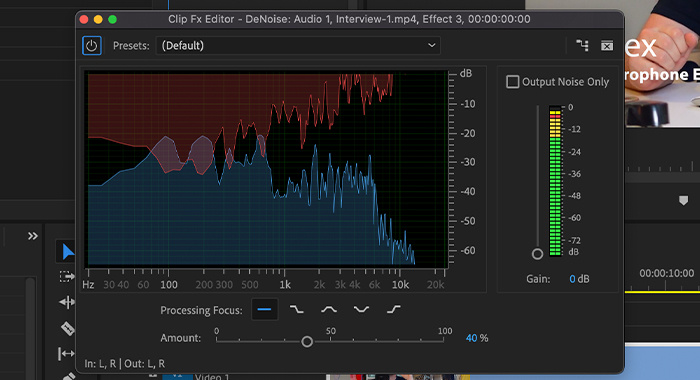
You'll detect there's only one Amount slider on the bottom, which defines how much of the racket reduction consequence you want to add together to your audio prune. It commonly starts in the middle, and you can play your audio to listen and reduce or increase as needed.
Be careful and don't focus on the racket only. The DeNoiser effect tin affect the sound quality of your voice or background music, so add enough to reduce the unwanted noise without affecting your vox.
If you find your volume lower than it needs to exist, you can use the Proceeds control on Premiere Pro on the right to increase it. One time you're satisfied with the sound quality, close the window.
Removing Groundwork Noise in Premiere Pro Using the Essential Sound Console
The second to remove groundwork noise in Premiere Pro is to work inside the Audio workspace advertisement employ the Essential Sound panel. Information technology volition give you more tools to eliminate as much dissonance as possible. If y'all don't encounter this console, you'll need to activate information technology first.
What is Essential Sound in Adobe Premiere Pro
Premiere Pro'south Essential Sound panel is a powerful tool and the best option to remove groundwork noise in Premiere Pro. It provides you with all the necessary mixing tools to enhance, mix and repair your audio.
How Essential Sounds Can Amend Your Audio in Premiere Pro
The furnishings in Essential Sound are professional notwithstanding extremely like shooting fish in a barrel to use, making it incredibly intuitive to unify loudness and remove low-frequency noises and background sounds. It's the ideal audio workspace to reduce racket in Premiere Pro.
Stride one. Activate the Essential Sound Panel
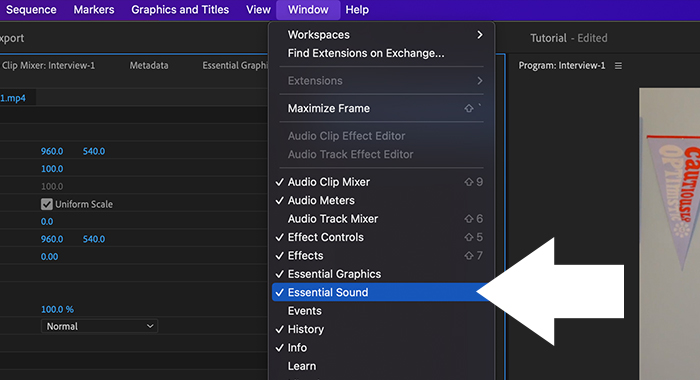
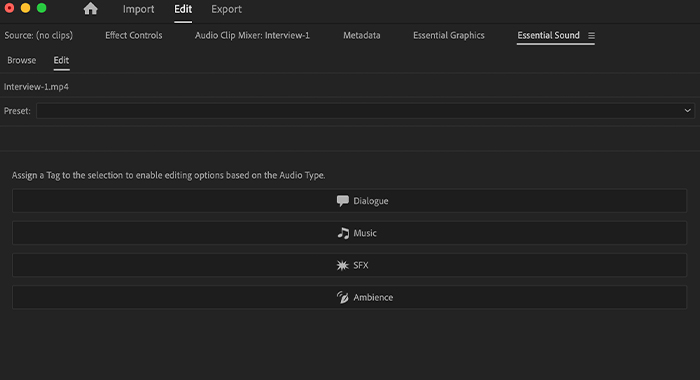
To activate the Essential Sound panel, get to Window > Essential Audio panel and cheque information technology. The Essential Audio console will appear; select your sound clip and choose the tag Dialogue.
Footstep two. The Repair Tab
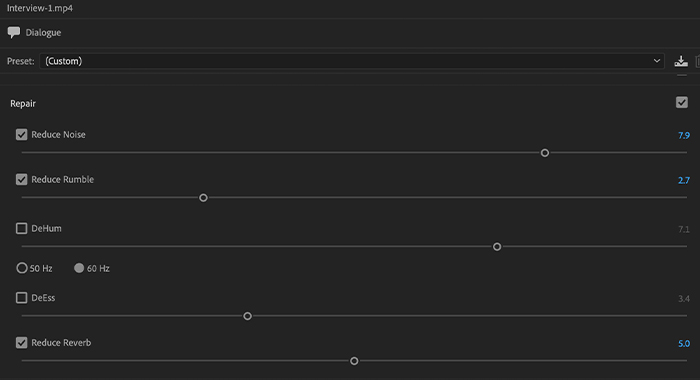
From the Essential Sound panel, a new menu with powerful features volition announced as yous click on Dialogue. In this card, we'll find a few sliders and options to remove background noise:
- Reduce Noise: the amount of noise removal practical to our sound clip. 0 means audio remains unchanged, and at 100, the maximum reduced noise consequence is applied.
- Reduce Rumble: reduces low frequencies noises, plosives, and microphone rumble caused by motion, air current, or rubbing sounds. Similar the "Reduce Noise" slider, the more you increase it, the more rumble reduction you'll get.
- DeHum: reduces hum sounds acquired by electric interference.
- DeEss: reduces the harsh ess-like sounds and other high frequencies.
- Reduce Reverb: reduces reverb from your audio rails. Very helpful when you tin can hear an repeat in your recordings.
To adjust each slider, nosotros check the box next to each option and and then move the slider. For the "Reduce Noise" upshot, y'all want to start past setting the slider down to 0 and and so moving as you listen to the audio.
Sometimes when too many furnishings are applied, our audio will offset to audio distorted, specially the voice. In those cases, information technology'southward amend to leave some audible background noise to continue our sound quality at its best.
The tools in the Essential Sound panel can profoundly improve your audio but must be used wisely.
Step 3. Repair Sound Quality
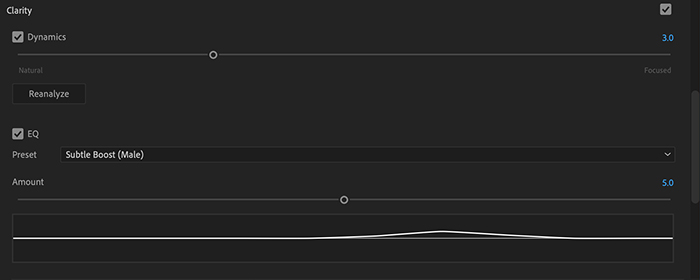
If yous find your vocalization quality was affected past the dissonance removal procedure, you lot can repair information technology in the Clarity tab. Check the box next to information technology, and a new menu will display below.
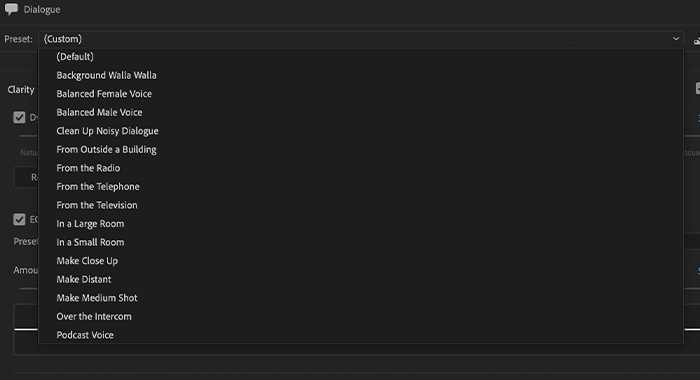
Here you tin utilize the EQ selection to reduce or boost specific frequencies in the recording. Select a preset you like (nosotros recommend podcast voice) and adapt the amount of EQ for the sound with the slider.
You tin also raise your video sound with Enhance Speech and cull between high tone (female) or low tone (male).
When you're happy with what you hear, close the window.
Create Your Presets to Remove Groundwork Racket in Premiere Pro
Creating presets volition help you lot salvage time and have all these adjustments ready to apply.
Presets in Essential Console
1. Go to the Essential Audio console.
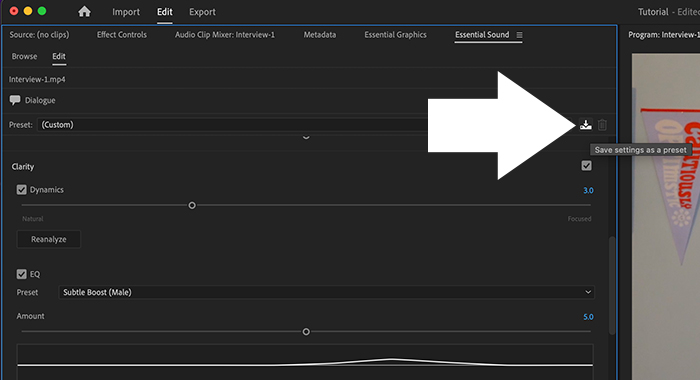
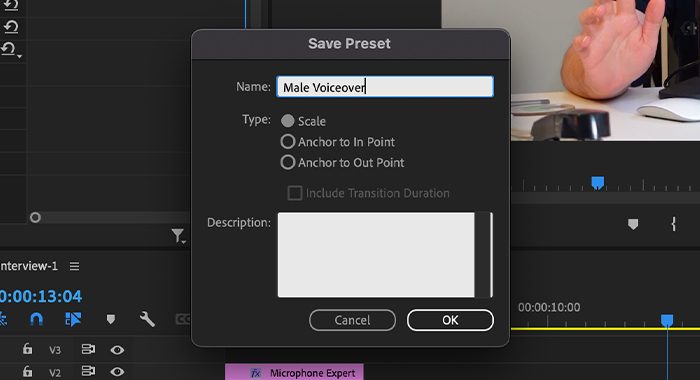
two. You'll see the Preset dropdown menu below Dialogue; click on the icon adjacent to it with a down arrow when you finish editing.
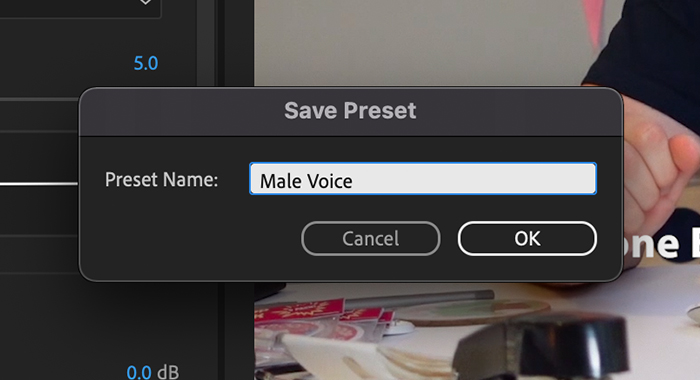
3. The Save Preset window will open; proper name your preset and click OK.
The adjacent time yous want to use your preset, select the clips yous want to reduce background racket, and choose the new preset from the Preset dropdown menu. All the settings previously chosen will be saved.
Presets for the DeNoise Outcome
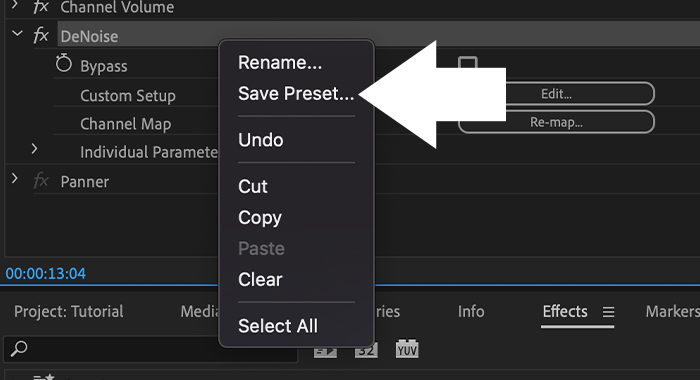
1. Afterward editing the DeNoise furnishings, right-click DeNoise on your Effect Controls panel and cull Salvage Preset.
ii. Name your preset and click OK.
Sometimes sound clips are unlike even when recorded in the same place, so it might exist necessary to make some adjustments. Working with presets will give you lot a starting point for future projects.
Last Thoughts
As you see, reducing groundwork racket in Premiere Pro from your videos tin deliver outstanding results.
All the same, sometimes information technology'll be very difficult to reduce background noise during post-production. That'south why y'all should do your best to tape in a quiet location with good equipment.
Set up Your Environment for Audio Recording
The all-time thing to exercise is treat your room with sound-absorbing panels to reduce reverb and low ambience noises and get the best recording equipment to produce equally little groundwork noise equally possible. But somehow, the groundwork noise will still exist in that location.
When you record your audio professionally, post-processing becomes much easier. Find out which combination of effects works best for yous and your audio. After some time, you'll know right abroad how to reduce noise efficiently straight from your video editor.
Additional reading:
- How to Fade out Audio in Premiere Pro
- How to Remove Background Noise in Adobe Audition
- How to Remove Background Dissonance from Video
- How to Reduce Echo in Premiere Pro
- How to Separate Audio in Premiere Pro
- How to Ingather Video in Premiere Pro
Source: https://crumplepop.com/how-to-remove-background-noise-in-premiere-pro/
0 Response to "How To Reduce Wind Noise In Premiere Pro"
Post a Comment